
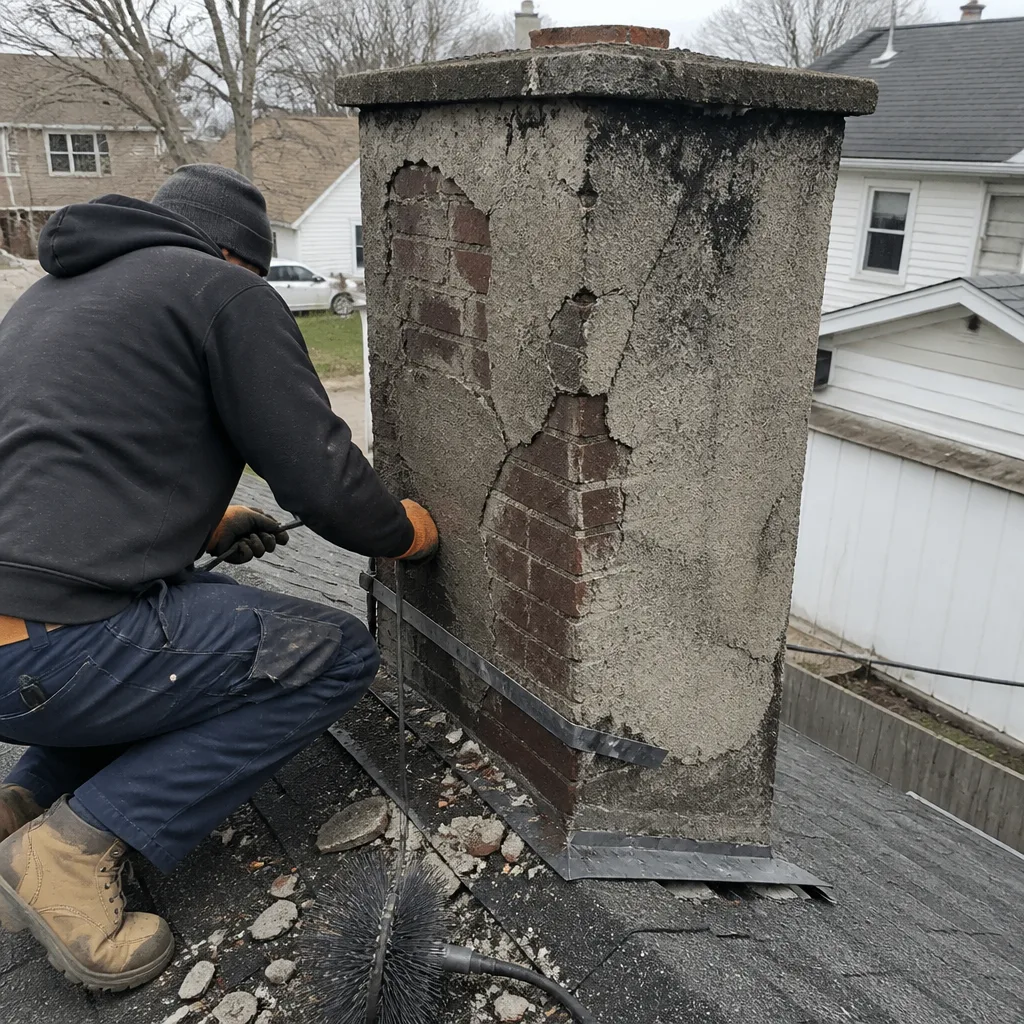
Level 1 sweep and inspection to the NFPA 211 annual standard - flue, crown, cap, and flashing checked and photographed
Chimney sweep logs do not sweep chimneys. They loosen some creosote - which then falls where a brush and vacuum still have to collect it.
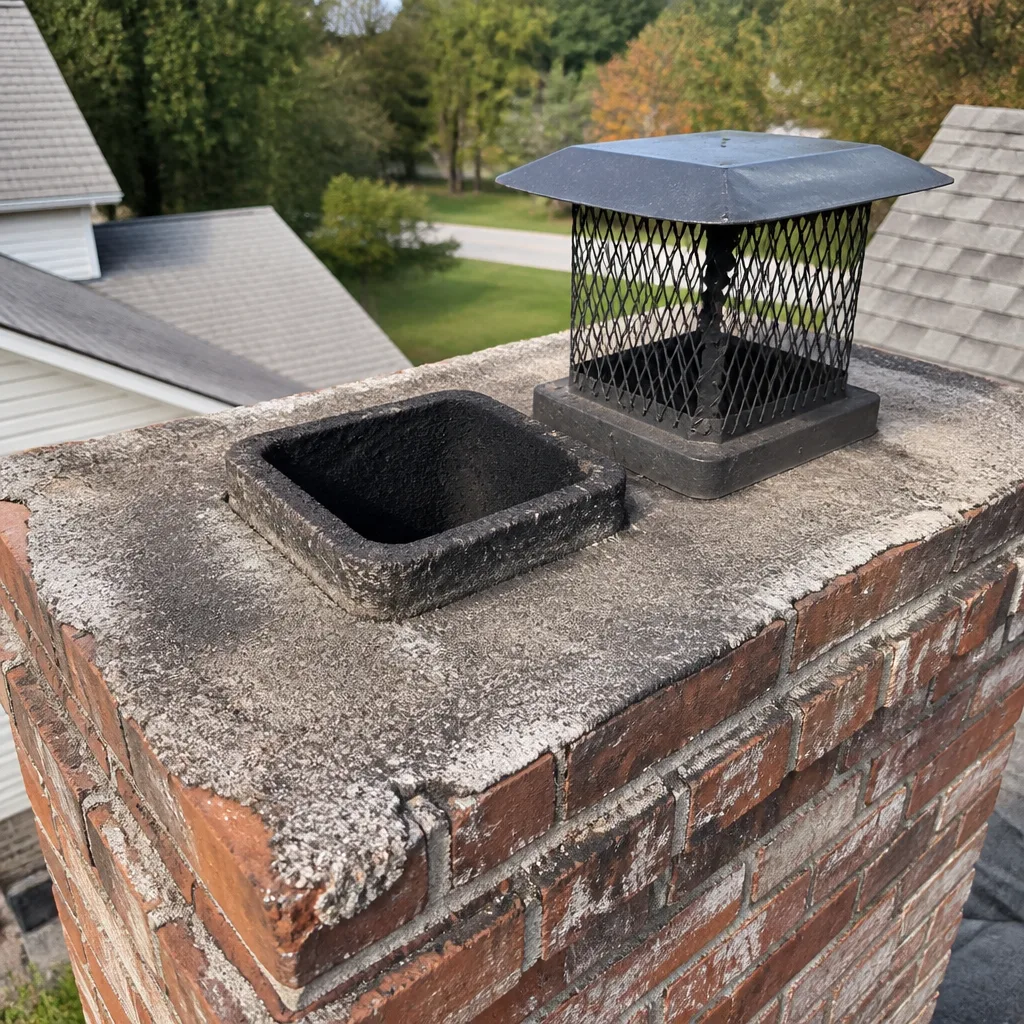
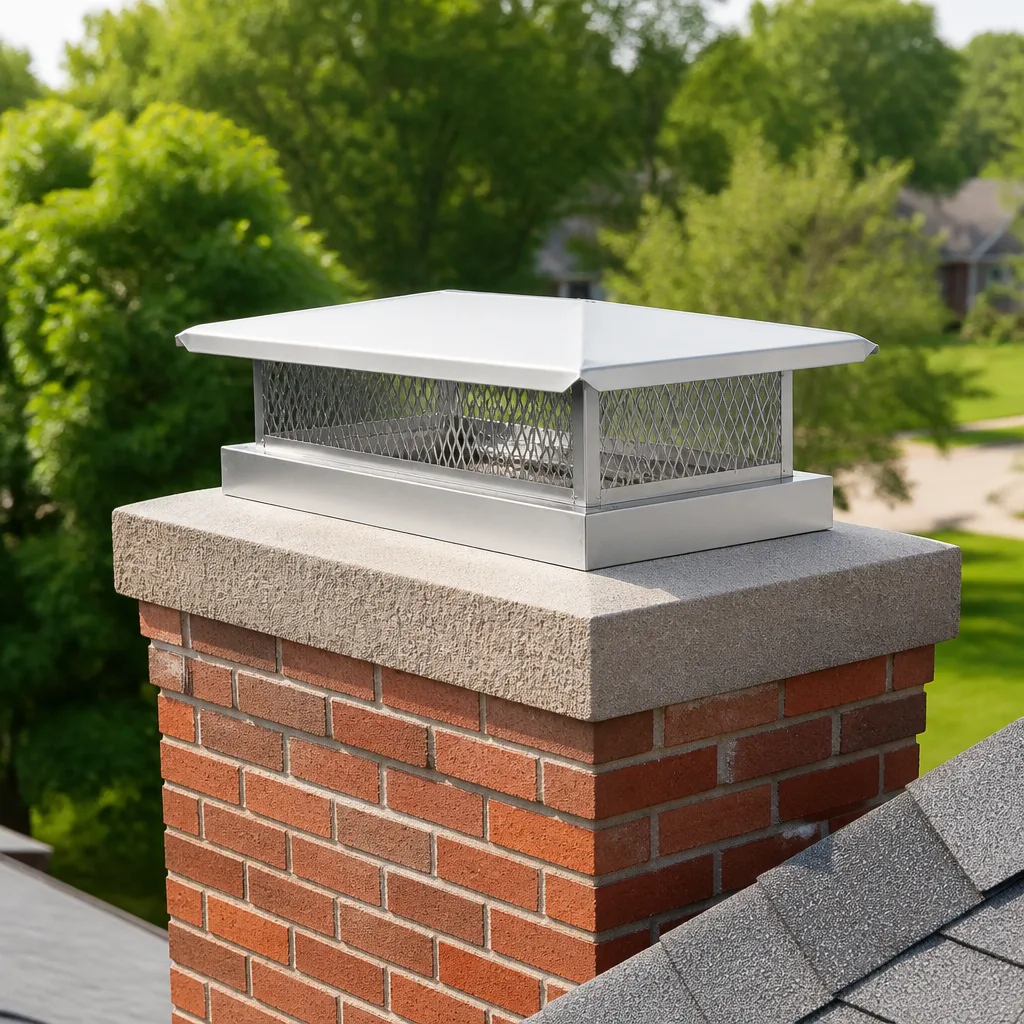
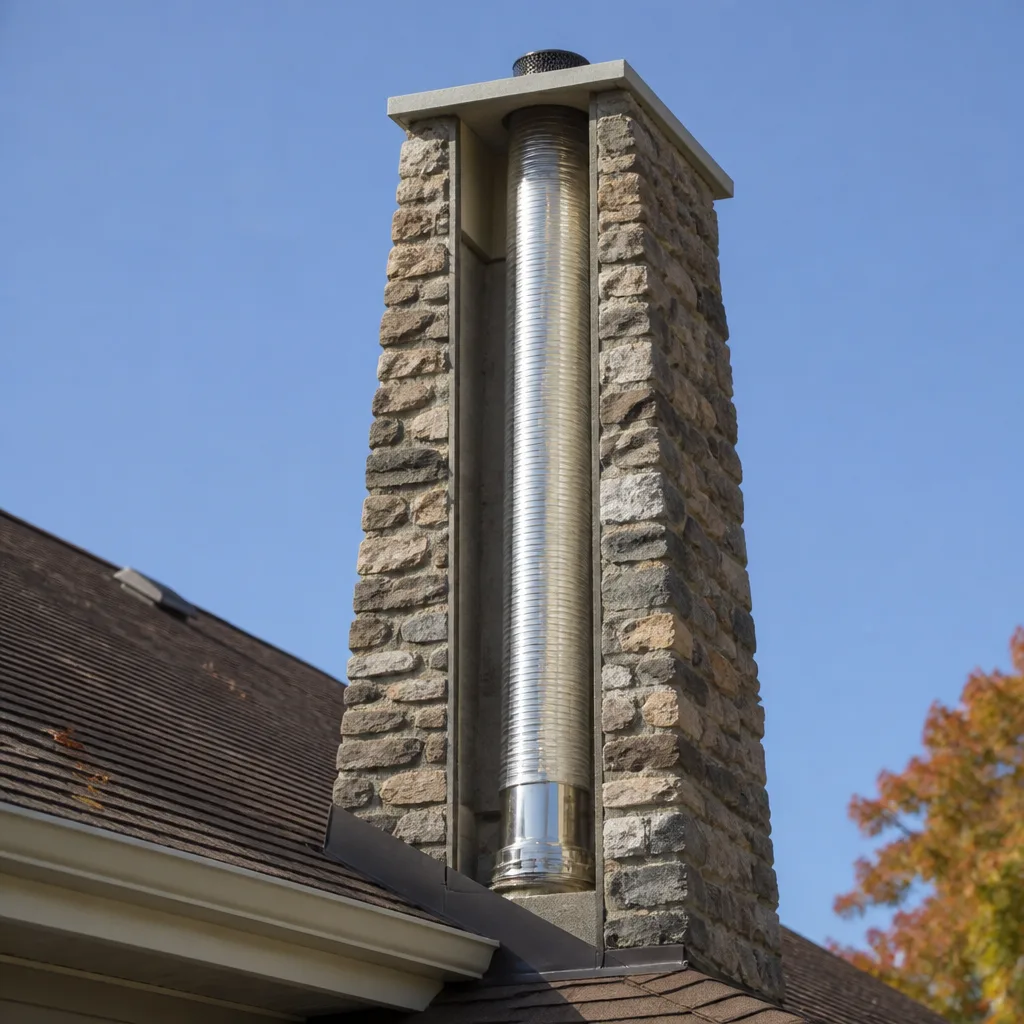
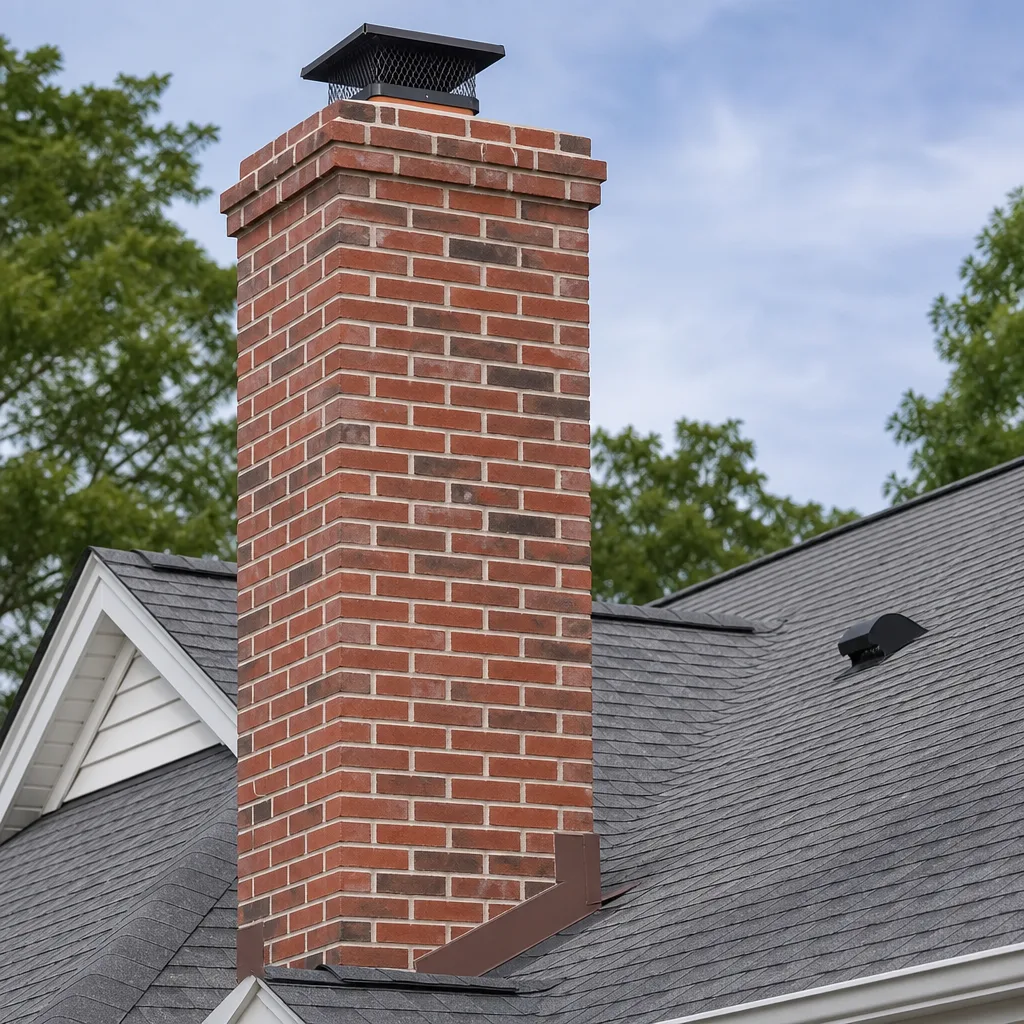
 Before
 After
After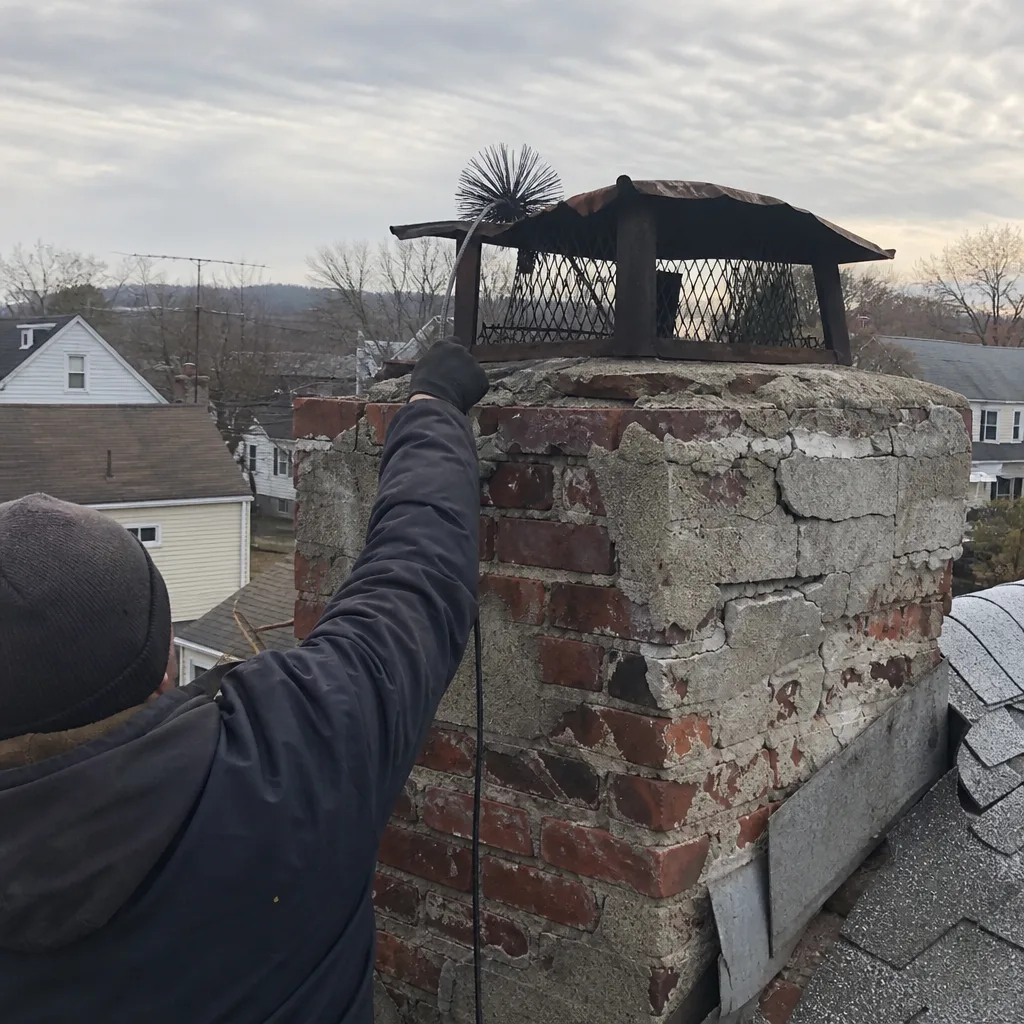 Before
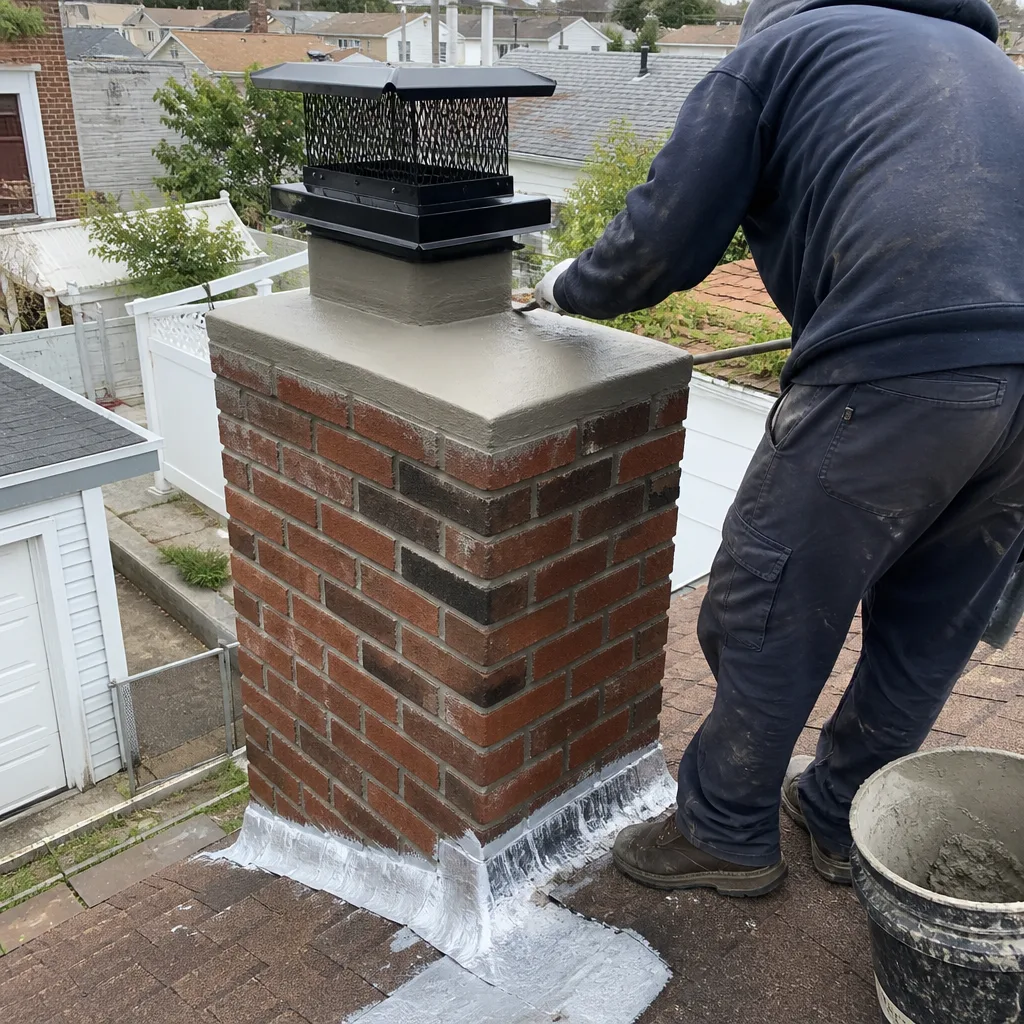 After
After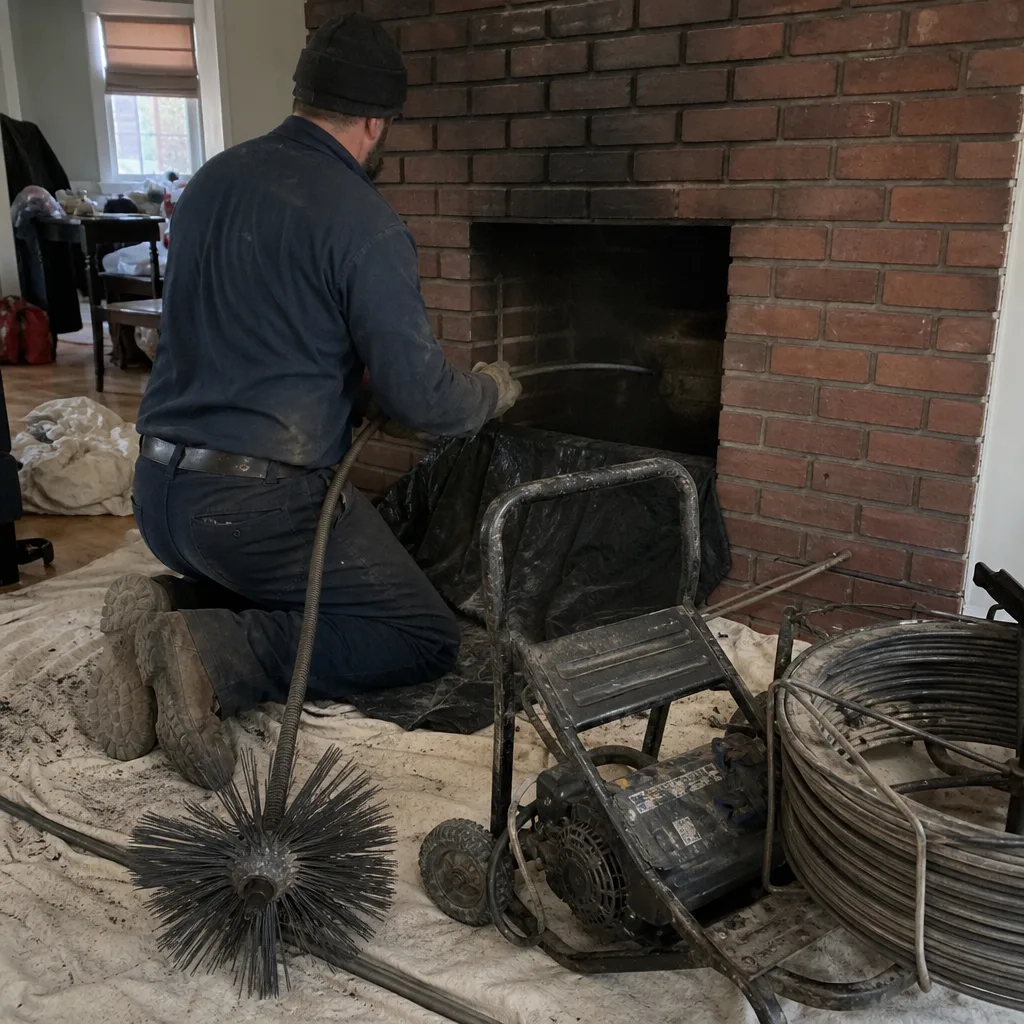 Before
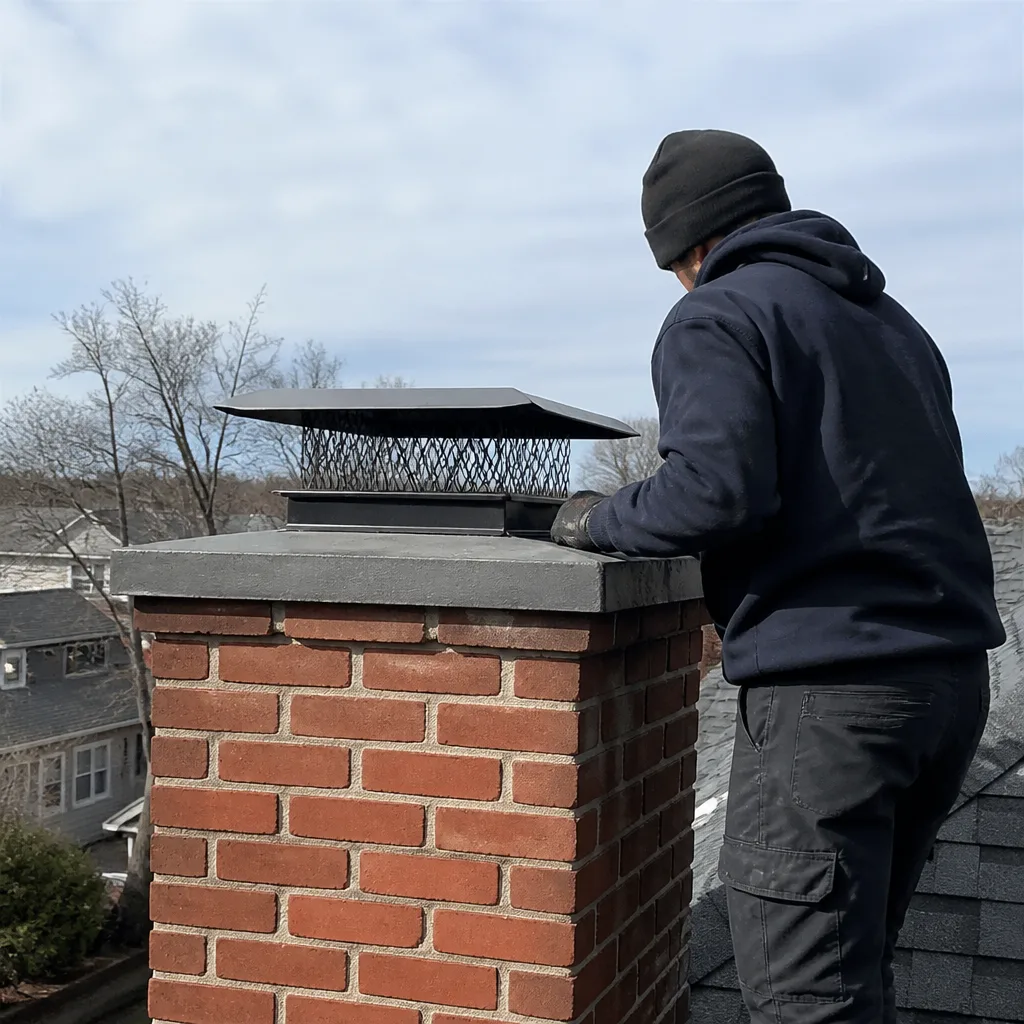 After
AfterGelco Chimney Cap Installation: The Paterson Owner’s Guide
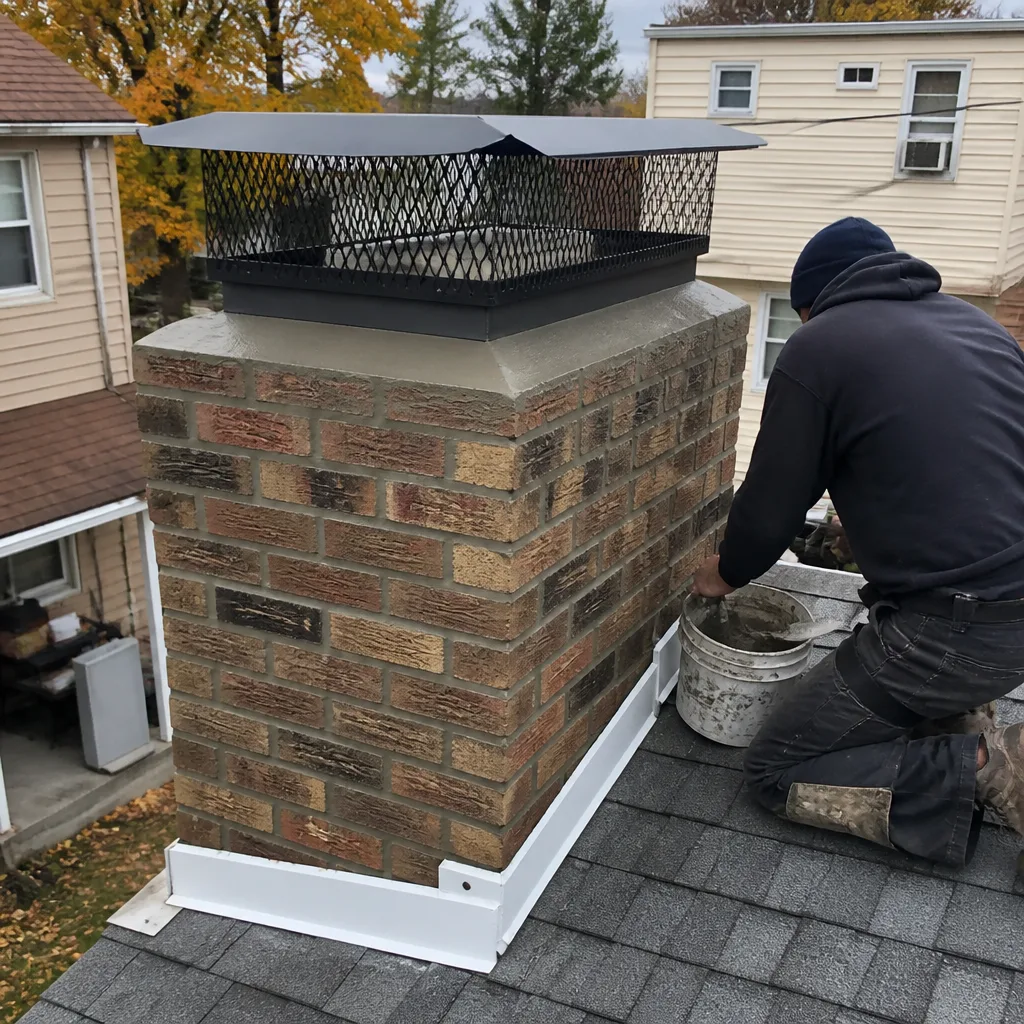
We stock and install Gelco-compatible chimney caps in Paterson, with most installations running between $240 and $410 depending on flue size and roof access. If you have a Gelco cap that’s rusted through, missing its mesh, or pulling away from the flue tile, we can usually get the replacement mounted the same week, not the same month. Most Paterson homeowners discover the failure after a storm or a rainy stretch, when they notice water staining on the ceiling near the chimney or hear birds in the flue.
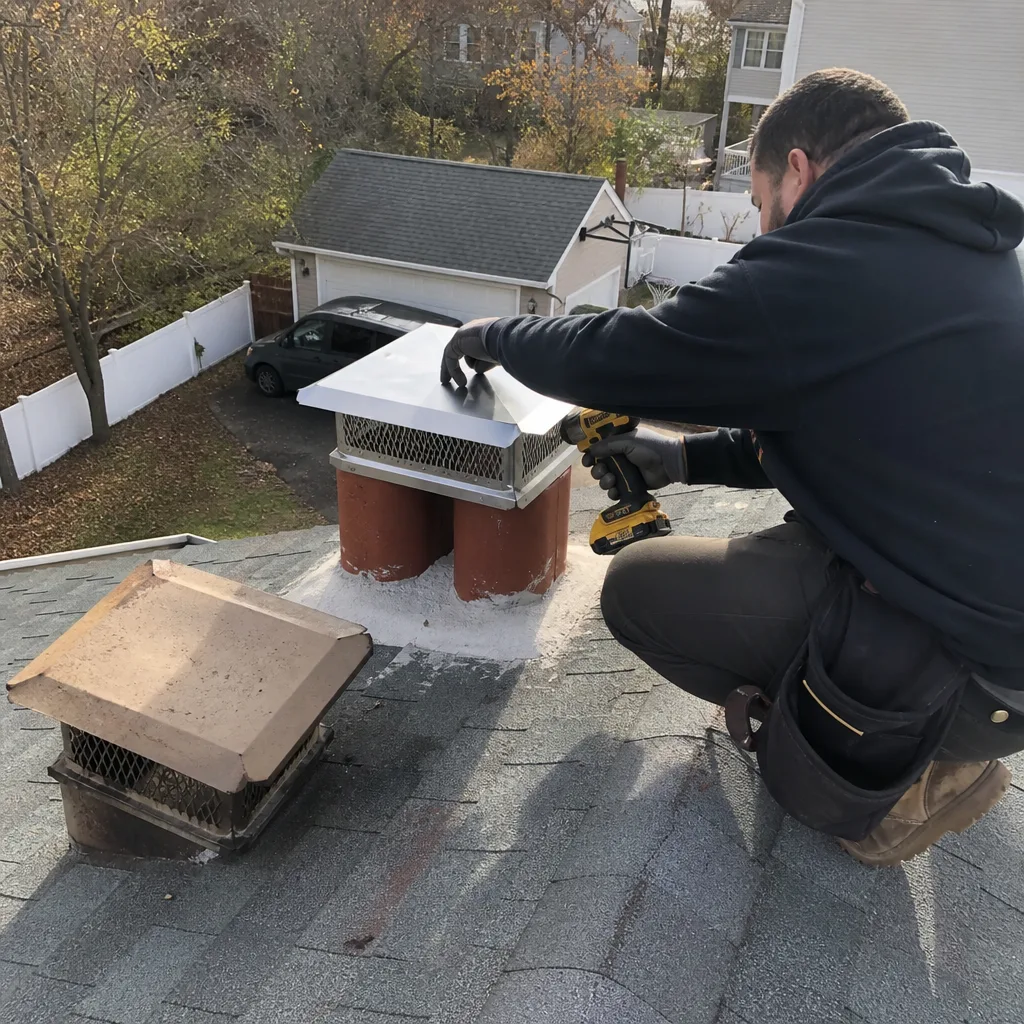
Here’s the plain version of what that means: an outdoor cap on the flue is a steel assembly with mesh sides, mounted at the very top of the chimney. It keeps rain out of the flue and animals out of the firebox. When it fails, water gets in and can damage the liner, the smoke chamber, and the masonry below it. This page covers exactly what a Gelco cap replacement involves in Paterson, what it costs, and how we handle the job.
Which Gelco Models This Applies To
Gelco manufactures multi-flue and single-flue caps in a range of standard sizes, and the way to identify yours is simple: measure the outside width and length of the flue tile, not the opening. Most Paterson chimneys built before 1970 have 8″ x 8″ or 8″ x 13″ clay tile, which takes a standard Gelco outside-mount cap. Newer construction in the Hillcrest and Lakeview sections tends to run 8″ x 8″ with a terra cotta crown, same cap, different mounting hardware.
The compatibility gotcha with Gelco is the mounting system. Gelco caps are designed to slide over the outside of the flue tile and secure with pressure screws. If your flue tile is spalled (crumbling at the edges, common in Paterson where freeze-thaw cycles work on old clay), the cap can’t get a secure bite and will work loose within a year or two. In that situation, we don’t just replace the cap, we build up the flue tile edge with a masonry-grade adhesive bed before setting the new cap on it. We’re an independent service provider, not affiliated with Gelco, but we stock Gelco and Gelco-compatible caps on the truck because they’re well built and widely used in this market.
On the OEM versus aftermarket question: Gelco’s own caps are powder-coated steel with stainless mesh and aluminum hoods, and they hold up well here. Quality aftermarket equivalents from Olympia and Copperfield are functionally identical and often run $30 to $50 less. We’ll quote both if you ask, and our recommendation is usually the least expensive option that matches the existing footprint.
Signs Your Gelco Chimney Cap Installation Is Failing
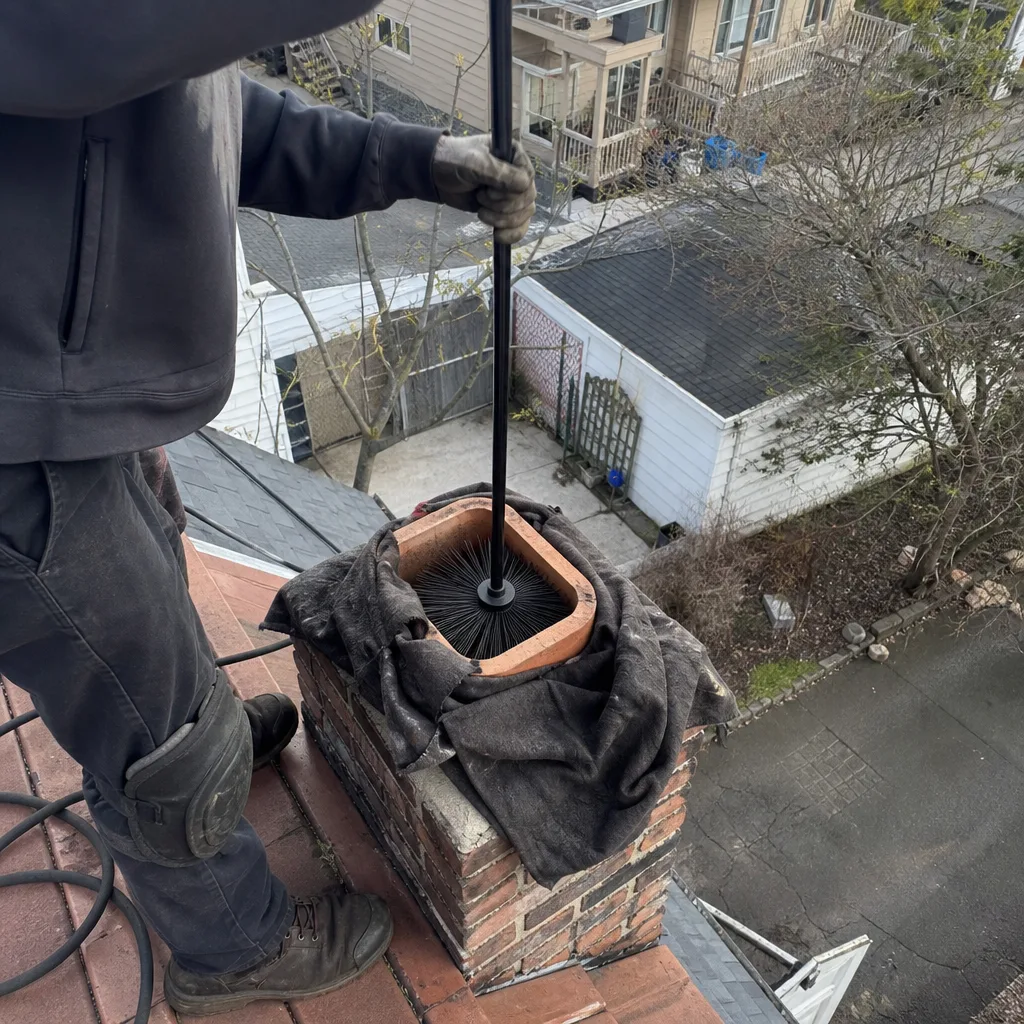
- Water staining on the ceiling or wall near the chimney. This tells us rain is getting past the cap and pooling somewhere it shouldn’t. It’s the most common first symptom we see in Paterson, and it usually means the cap’s seams or mounting screws have failed.
- Bird activity or nesting sounds from the flue. The mesh side panels on a Gelco cap keep birds out, but once a panel rusts through or separates from the frame, a chimney swift or starling will find the gap within a season. The noise and the nesting material are both problems you don’t want.
- Rust streaks running down the masonry from the cap line. Gelco caps are powder-coated, but once the coating is scratched during installation or abraded by wind-driven debris, the steel underneath starts to rust. Those orange streaks on the brick are rust, and they’ll only get worse.
- An old cap visibly leaning, lifted, or missing screws. Wind loads on a three-story Paterson rowhouse are real. A cap that’s shifted or lost its screws is no longer sealed, even if it looks otherwise intact. This is a fail we can spot from the ground with binoculars.
- Musty odor from the fireplace after rain. That’s the smell of damp creosote and wet soot inside the flue. It means water has been entering for a while, and the cap is usually the admission point.
BeforeAfterReplacement Cost & What’s Included
In Paterson, a Gelco chimney cap replacement typically runs $240 to $410 installed, depending on the flue size, roof pitch, and whether we’re replacing on a one-story or multi-story home. The cap itself is $90 to $170 for most standard sizes; the balance is labor, mounting hardware, and sealant. If we’re doing the work as part of a sweep and Level 2 inspection, the cap labor overlaps and we adjust the total accordingly.
Every quote is written before we start: part line item, labor, disposal if applicable, and warranty term. You get the written scope and price before anyone picks up a tool, per Clause 1 of the Haven Standard. The finished job includes a photo record from the roof, so you can see what the old cap looked like and what the new one looks like in place. If the cap fails within a year due to our installation, the 365-Day Done Right Promise covers a return visit at no charge.
DIY or Call Us?
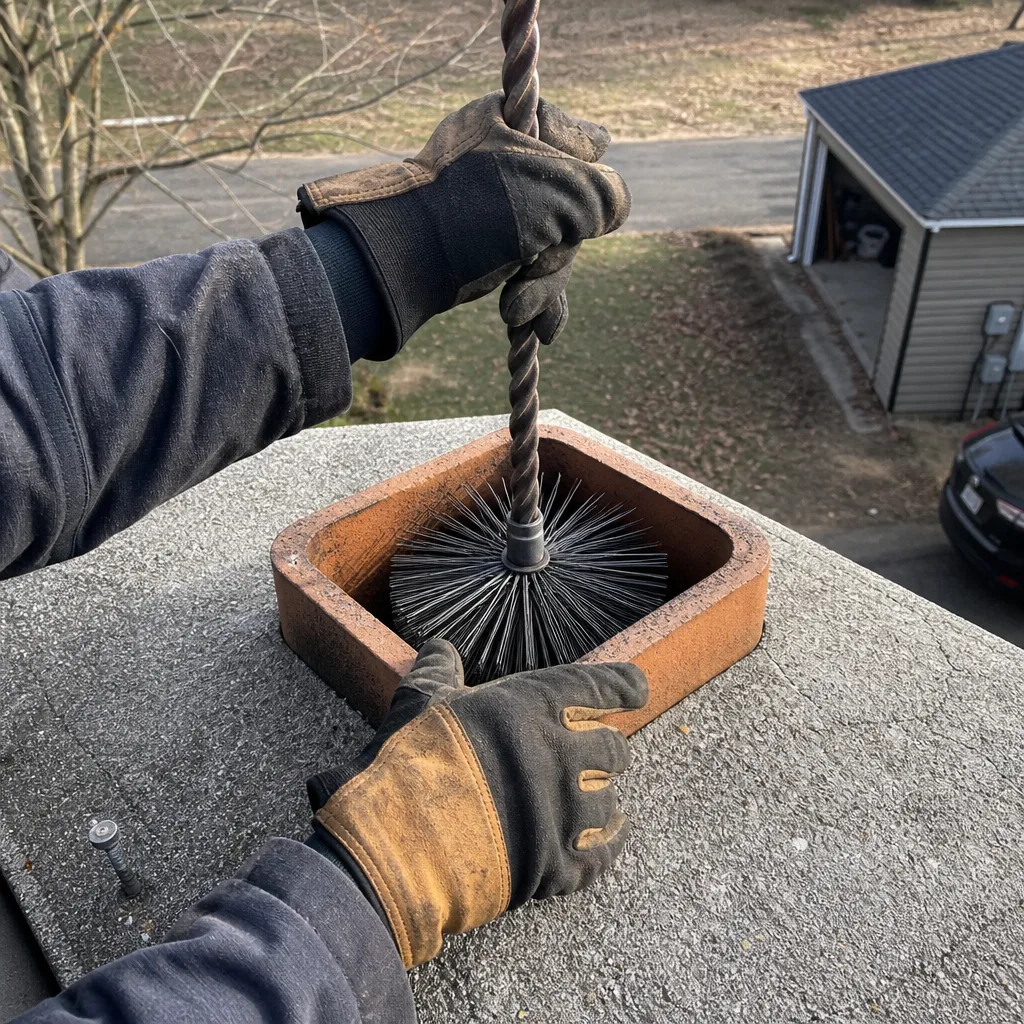
You can safely check a few things from the ground: whether the cap is visibly leaning, missing screws, or showing rust streaks. That’s good information to have before calling us, because it tells us what we’re likely walking into. What you shouldn’t do is get on a ladder or climb onto the roof to inspect or replace a cap yourself.
Roof work is the dangerous part. Paterson homes span from single-story ranches to three-story rowhouses with steep pitches, and a fall from even the lowest roofline can put you in the hospital. Add to that the fact that the flue tile may be spalled or the old cap may be seized, and what looked like a simple swap becomes a masonry repair job. Corrine Halstead’s rule applies here, the same one she’s used for nearly eighteen years in the trade: camera first, quote second, work third, in that order, every time. Call us at (862) 356-5229 and we’ll come look at it before anyone is on a ladder, including us.
FAQs
A properly installed Gelco cap in Paterson lasts between 8 and 14 years, though the mesh sidewalls often fail before the hood, and the mounting hardware may need re-tightening after the first few winters. Paterson’s freeze-thaw cycles and wind exposure shorten the life of any cap compared to inland or coastal climates. If you’re past the 10-year mark and seeing rust, plan on a replacement soon, and call (862) 356-5229 for an exact quote.
Sometimes. If the hood is solid and only the mesh is rusted or torn, we can replace just the mesh on many Gelco tops; if the mounting screws have stripped, we can re-tap or re-anchor them. But if the steel frame itself is corroded or the mounting band is cracked, patchwork buys you a season at best. We’ll tell you plainly which situation you have, with photos from the roof to back it up.
Most installations take 45 to 90 minutes on site. That includes removing the old cap, prepping the flue tile, setting the new cap, and documenting the work with photos. If we’re adding a sweep or Level 2 inspection to the same visit, the total on-site time is longer, but the cap portion stays under two hours.
We stock standard Gelco and Gelco-compatible caps on the truck in the sizes that cover 90% of Paterson chimneys. If your flue tile is an unusual size, we order the cap from our supplier and it typically arrives in two to three business days. We’ll confirm availability before we book the return visit, so there’s no double scheduling.
If your Gelco cap is failing, the quickest path to an answer is a phone call. We’ll send someone to look, write you a price, and show you the problem in photos before any work starts. Call (862) 356-5229 to set it up.
Written by Corrine Halstead, Owner, Level Two Chimney Paterson at Level Two Chimney Paterson, serving Paterson and nearby areas.